Interior Digital – 202 Series Installation

Step 1:
Mount the 202 series scale into the dash by cutting a new 2 – 1/16” hole, using an existing 2-1/16” hole, or any of our mounting brackets available. If cutting a new hole, be sure the area behind it has enough room to connect the air line to the back of the scale.

Step 2:
Install the scale into the dash and tighten the plastic nut.

Step 3:
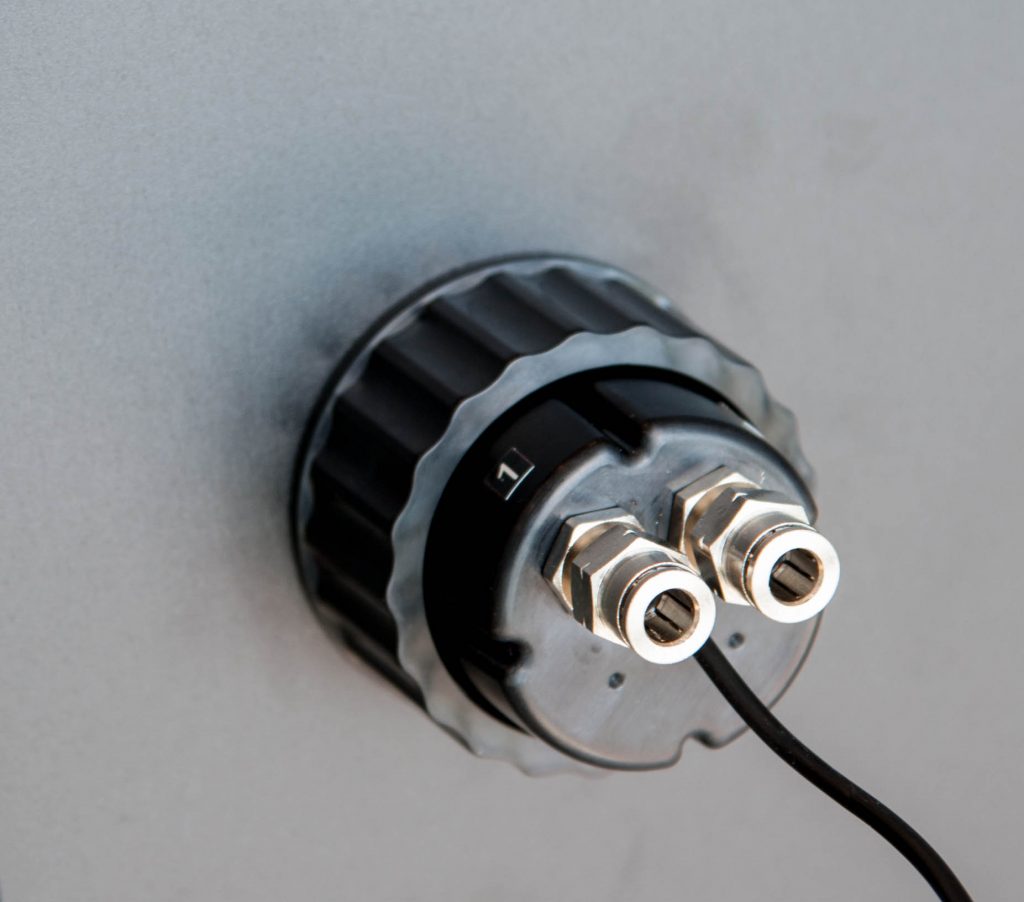
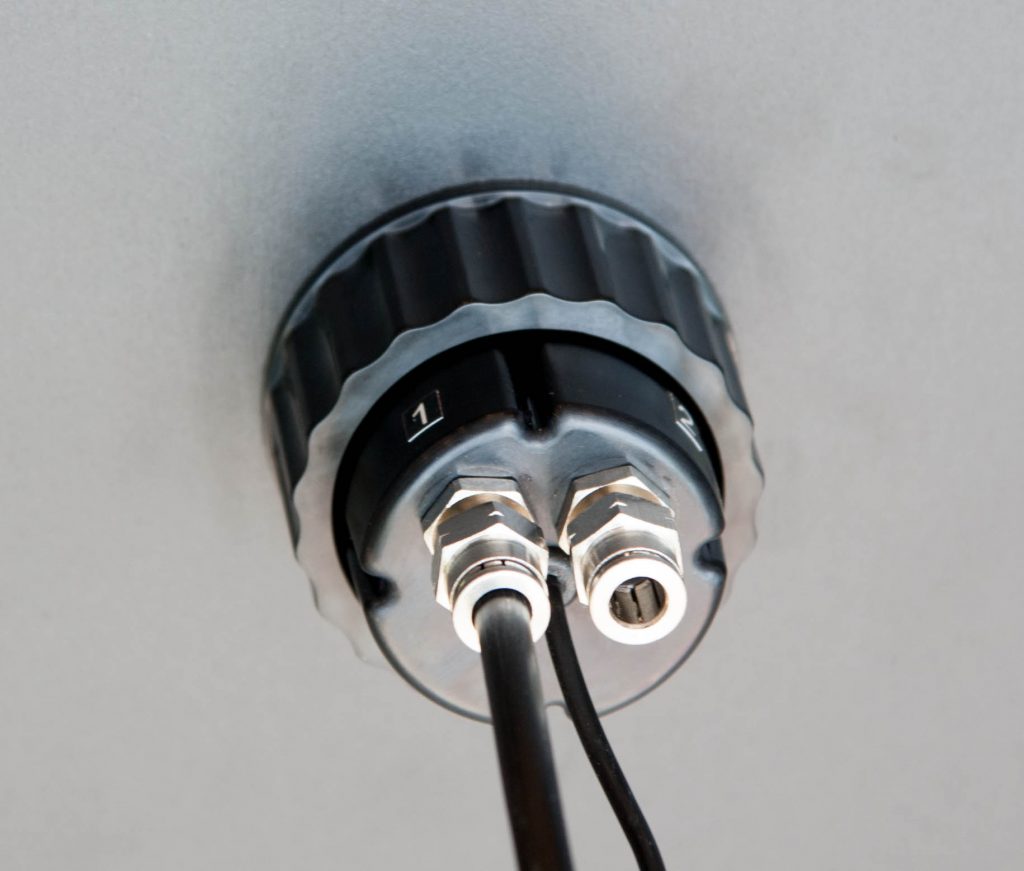
Route the air line from the air bag up to the cab and plug it into the back of the scale.

Step 4:
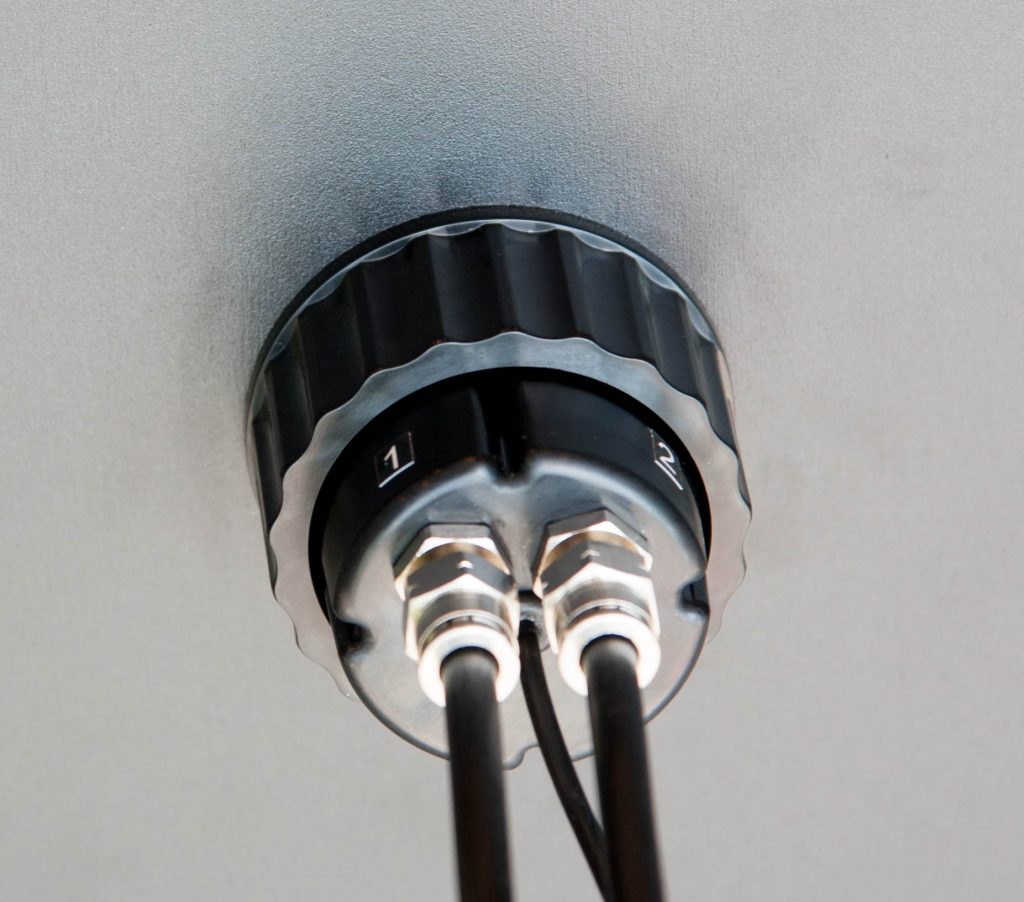
If installing multiple lines such as a tractor and trailer axle group, take note of which ports each axle group is being plugged into. Connect the power wire from the back of the scale to a switched accessory power source.


